January Lake:
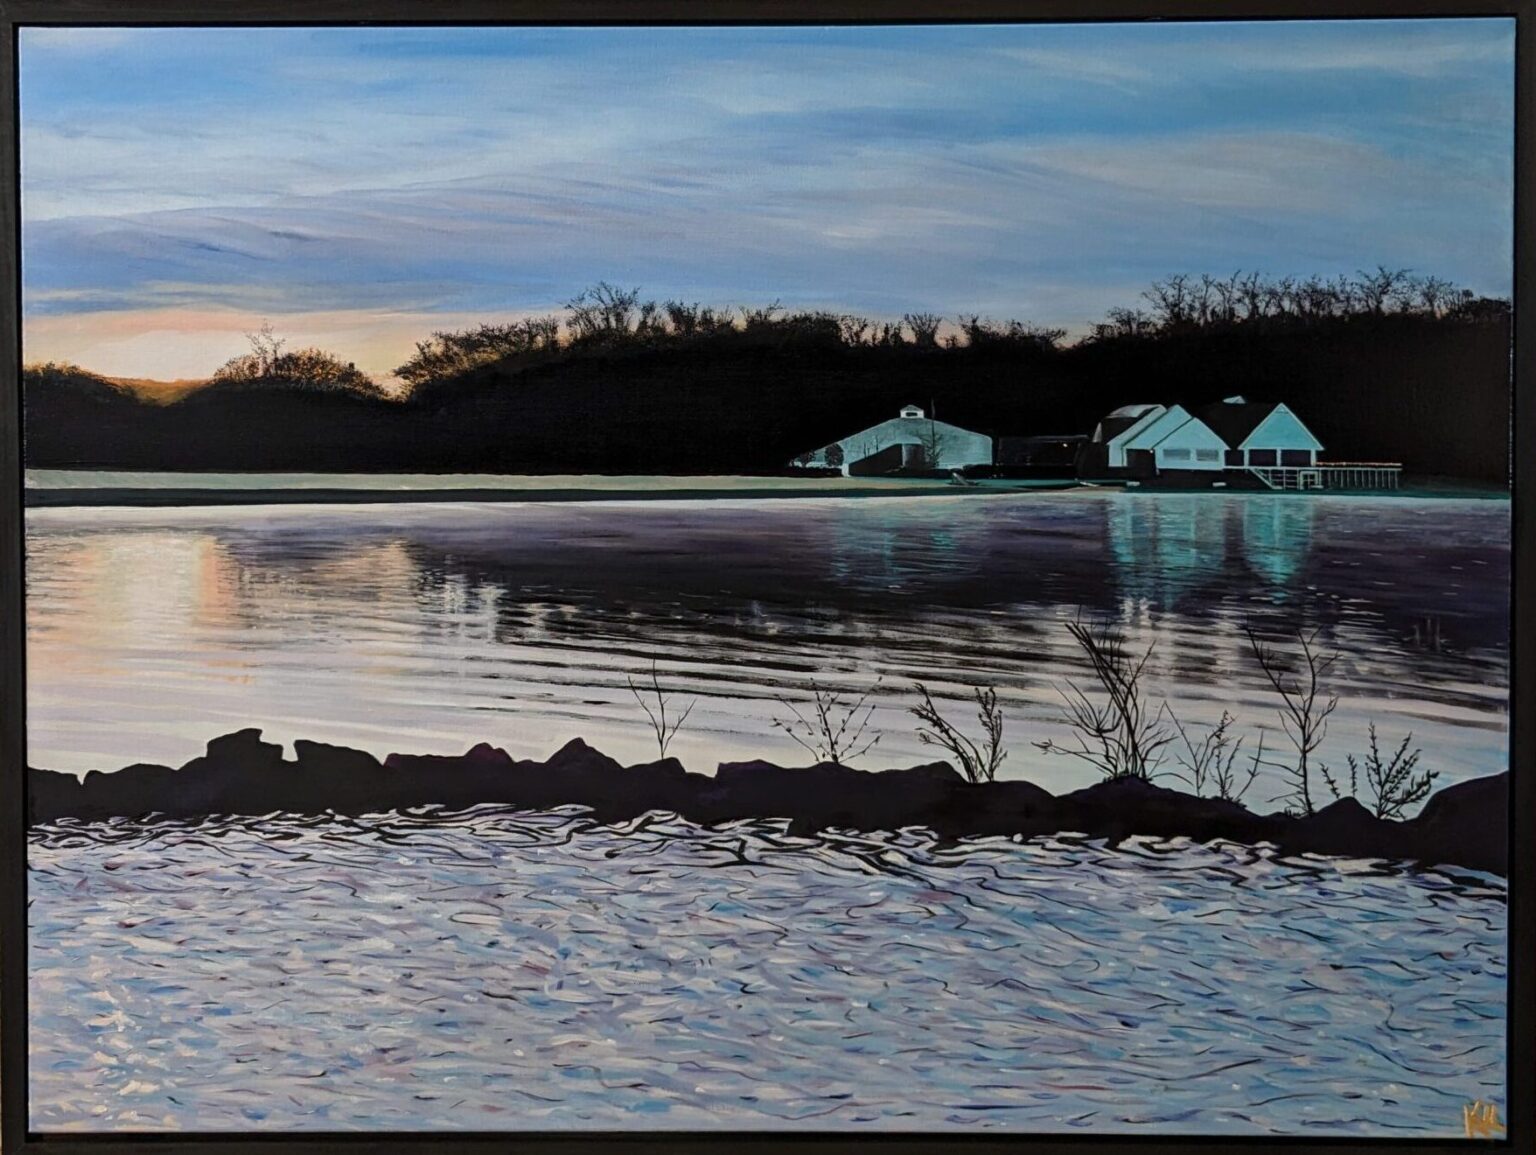
The concept of the project started with a search for an iconic view including elements of a boat harbor, the lake, the dam and the clubhouse plus new fitness and pool center. I started with an assessment of harbors around the lake… An easy decision in the end, as you only have this view from one side of the lake to begin with and most water access areas are eliminated quickly with zero view of the lake and clubhouse in general. I ended up at the front right of the lake, if entering from the highway, where the water sheds from the dam, in a little harbor where you can rent sail boats, get gas for your boat, and store your boat, in the water, year round! (I will mention this later) – I took photos from this location for several days comparing times of day, exposure, etc…
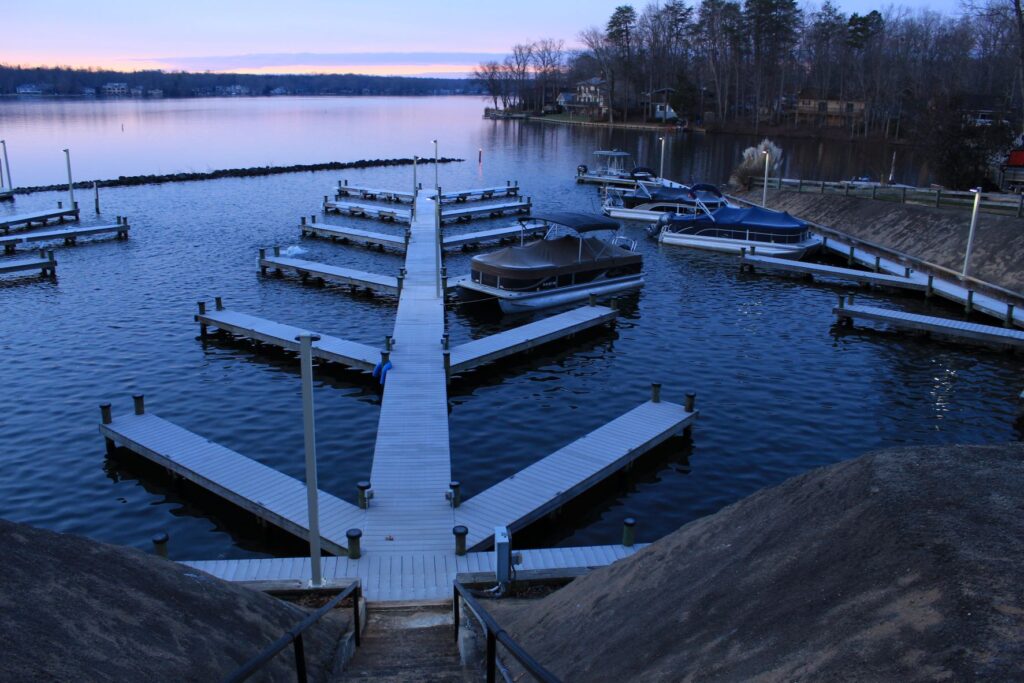
It was around 7 am, a very cold morning, just before sunrise, when I walked down the stairs to the water level of the docks in the marina. I knew it was below freezing because this particular marina has big pumps that stir the water in the boat slips so the water does not freeze… very cool.
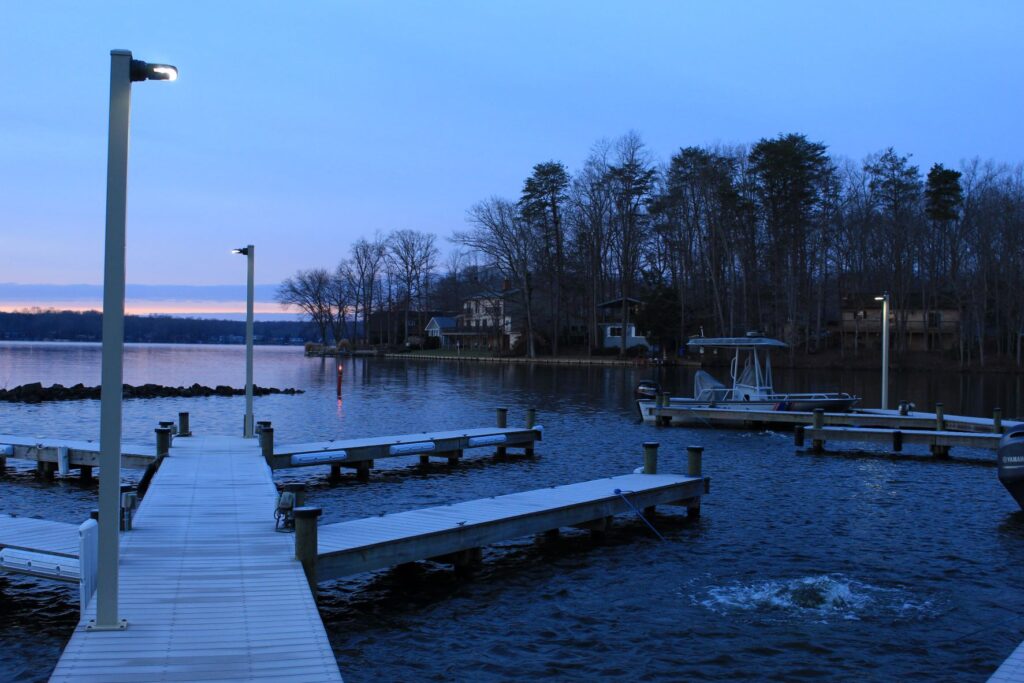
I walked out to very end of the dock and for 15 minutes, took as many photos as possible from all vantage points as I knew it was good conditions for what I was looking for. I wanted to capture a subtle sky, which just screamed winter, and after editing a few choice photos to acquire more cooler tones on the features, I settled on a reference.
My process is the same for every landscape painting. 3 layers of acrylic gesso to the canvas in preparation, with the second to last layer finely sanded before the last coat is applied. I find this gives the smoothest painting surface as that is my personal preference. Most of the time, I do not use any method to transfer a raw image to the canvas other than freehand drawing. On occasion, when I want super high accuracy, I will grid a large format canvas into 9 squares, just to make sure I get everything in its appropriate spot. Then the acrylic block can begin, covering the entire canvas from head to tow, with the average colors from each area of the image, working back to front in spacial value. The reasons for using acrylic to block in the first layer is just a time saver as it dries super fast and the process of painting may continue without days of drying time. However, if I do have the time, I will block in with oil. Keep in mind, you can paint oils over acrylics for archival purposes, but never the other way around as anything water based on top of oil based will crack within days. Here is what the block in looks like…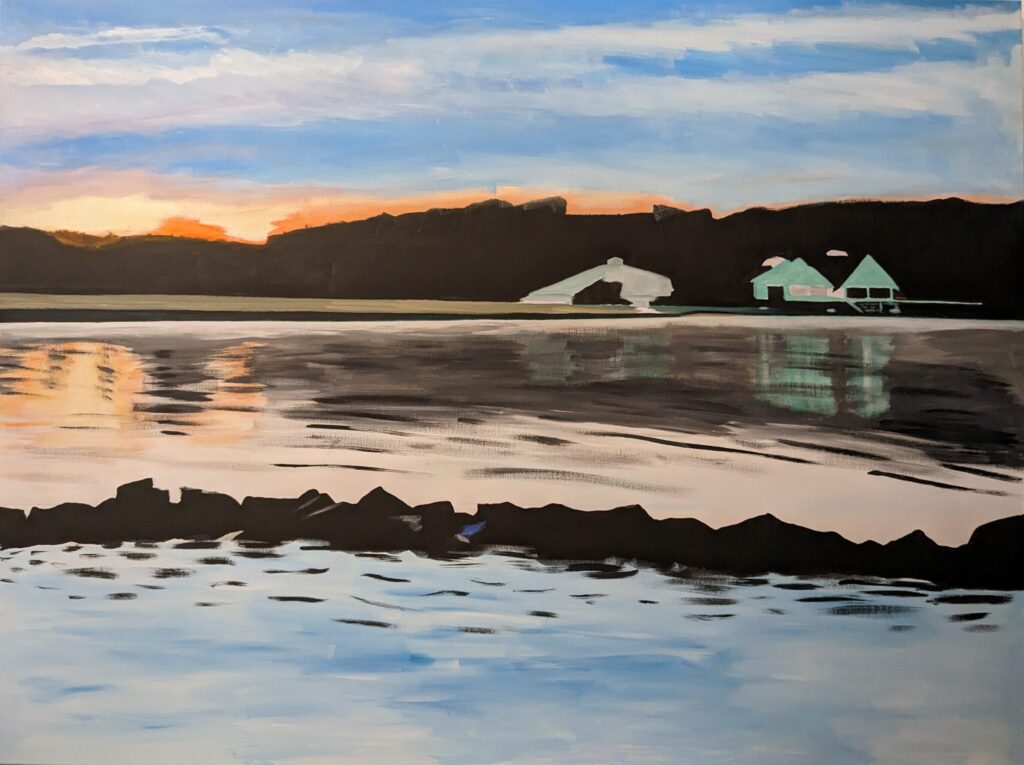
Now that the foundation of color has provided a road map, we follow up with the first oil layer, a layer to establish all of the darkest areas in the picture. Once the canvas is totally dry at this point is when the first layer of contrasting color can be applied. You work in harmony with the already established darks to mimic nature. The layers are added one by one until the desired effect is achieved. For example, there are around 8 layers in water areas of this picture. It is of paramount importance to work back to front to establish correct point of view and depth of field. This, plus highly accurate color matching is a recipe for success. Always remember that one of the main reasons colors appear the way they do to our eyes is because of the colors that surround them…
This project was joy to work on and I hope to do many more of this nature in the future!
